
Trash talk: A deeper dive into the Mac Trash Can

That’s because the Trash Can embedded in your macOS® is not your father’s trash can, and works very differently in macOS® than in any other operating system. Here’s hoping this information will help you better understand how to manage your files and storage space on your Mac®.
Back in the day, instead of immediately deleting files on your Mac, you would drag them into the Trash where they would sit until you either took them back out or emptied the can. But now, in macOS, instead of just dragging files to and from the Trash, you can take advantage of some special techniques that make working with Trash faster, easier and even more secure.
The most time-tested method of trashing a file is to drop it on the Trash icon in the Dock, but this process can be rather fussy on a large screen. Now, once you’ve selected one or multiple files in the Finder®, you can try one of these alternatives:
— Control- or right-click on one of those files and choose Move to Trash.
— Choose File > Move to Trash.
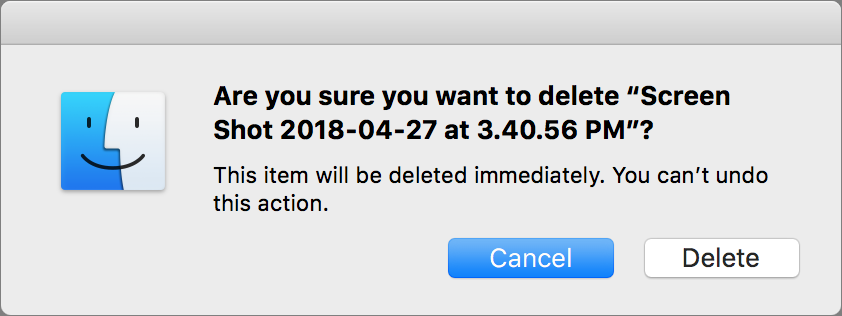
But what if you want to live dangerously and delete a file immediately, perhaps because you need to recover the disk space right away? Consider:
— Hold down Option and choose File > Delete Immediately.
— Press Command-Option-Delete. The Finder will ask if you are sure.
We all make mistakes by accidentally trashing files or later realizing we need that file after all. But removing a file from the can is easy — simply click the Trash icon on the Dock to open its window and then drag the file out of the window. With macOS, you also have other options:
— Press Command-Z to put the file back where it was.
— Choose Edit > Undo Move to Trash to put the file back where it was.
You can also view the Trash window in the Cover Flow® view (open it, and then choose View > as Cover Flow) so you can see the document preview at the top of the window. Or, you can sort by Date Added so you can see the items most recently trashed (but if the Date Added column isn’t showing, choose View > Show View Options and select the Date Added checkbox).
Also in the Trash window, you can select an item and and use the Put Back command to return it to its original location, Try one of these techniques:
— Press Command-Delete. It’s the same shortcut as Move to Trash, but does the reverse when the selection is in the Trash window.
— Control- or right-click on one of them, and choose Put Back.
— Choose File > Put Back
Most people take the step to empty the Trash because they need to reclaim disk space. And while you can do that at any time, with macOS 10.12 Sierra and later, you can set the Mac to automatically remove items from the Trash after they’ve been in there for 30 days. Here’s how:
— Choose Finder > Preferences > Advanced, then select “Remove items from the Trash after 30 days" checkbox.
To manually empty the Trash, choose Finder > Empty Trash. If “Show warning before emptying the Trash” is selected in the window, you’ll be prompted to confirm the deletion. If you don’t like the prompt, deselect that checkbox. Other shortcuts include:
— Click and hold the Trash icon on the Dock, and choose Empty Trash.
— Press Command-Shift-Delete.
— To avoid the warning even when enabled, press Command-Shift-Option-Delete.
That stated, emptying the Trash does not have to be an all-or-nothing proposition. If, say, you’ve just trashed a few huge files and want to recover that disk space without tossing out every other file, you can either:
— Select the files, Control- or right-click one, and choose Delete Immediately.
— Press Command-Option-Delete.
But enough of this trash talk. To learn more about how you can recover from mistakes and confidently, quickly and securely clear disk space, reach out to CranstonIT at 888-813-5558 or support@cranstonit.com.
macOS